Lengua de Gato
Posted by:
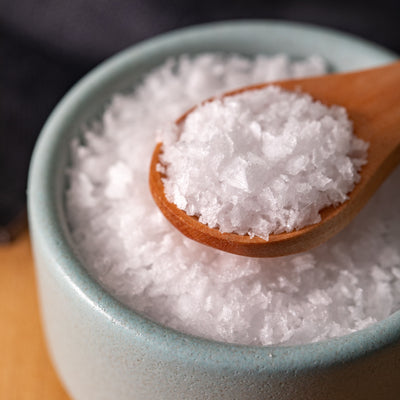
Jacobsen Salt Co.
Posted on:
Dec 11, 2023
Shop The Recipe
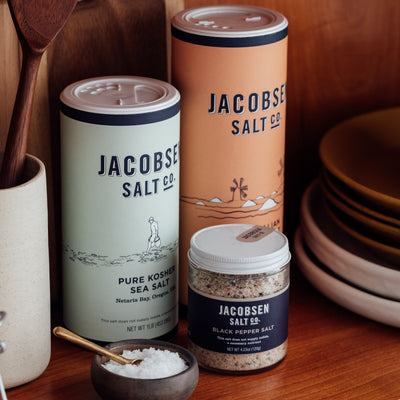
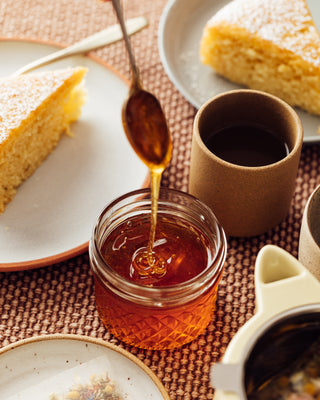
Pure Kosher Sea Salt
$13
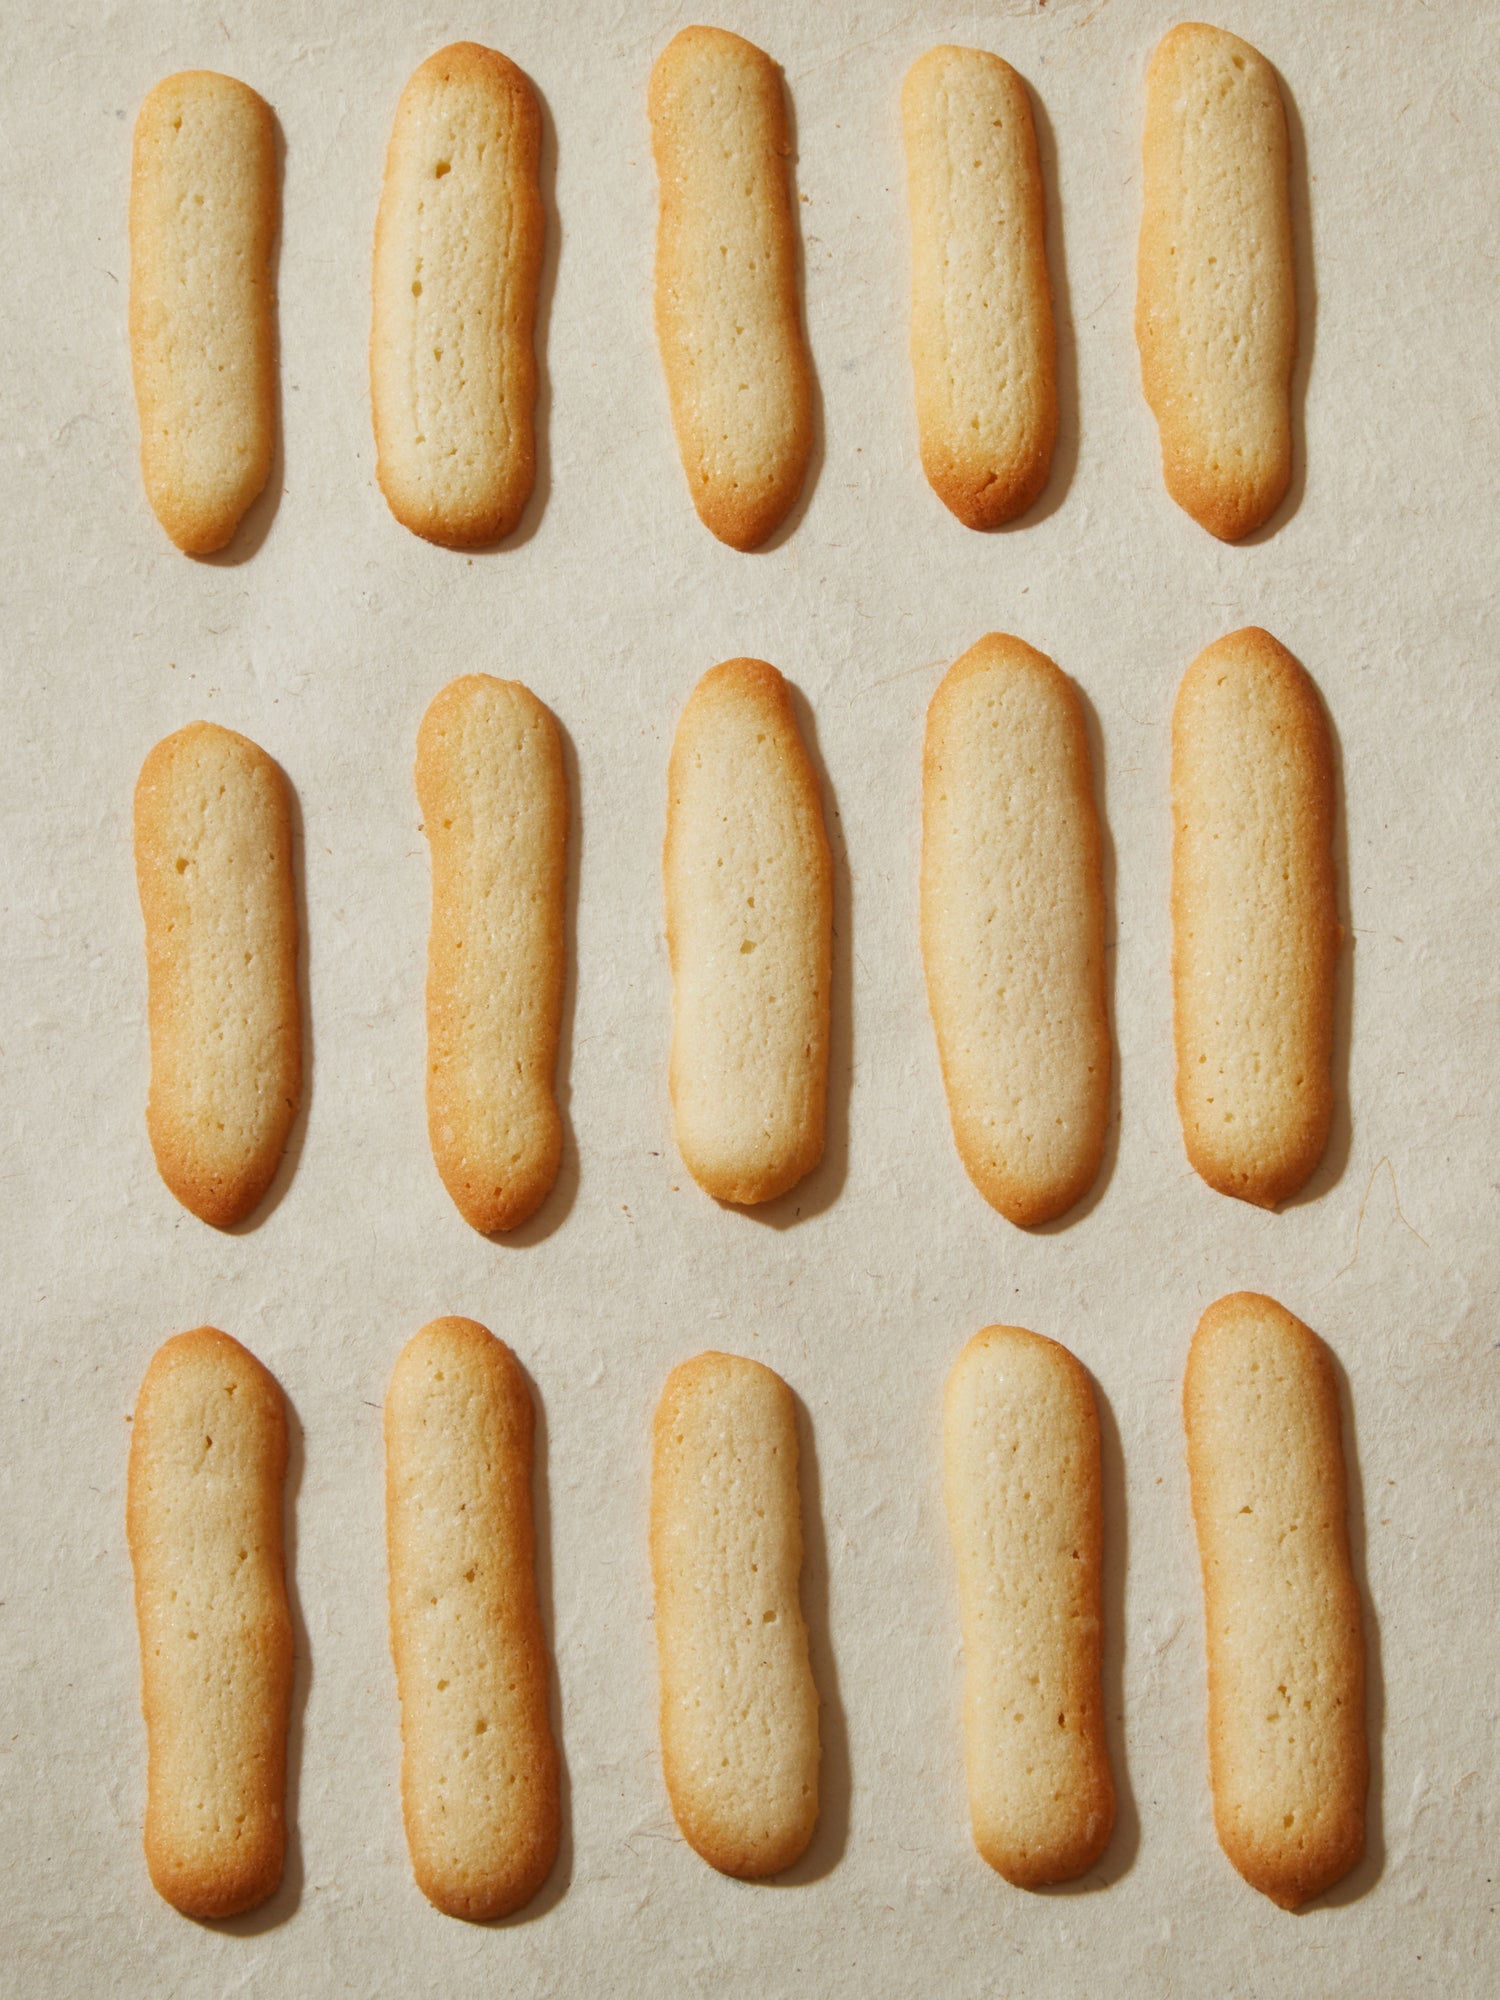
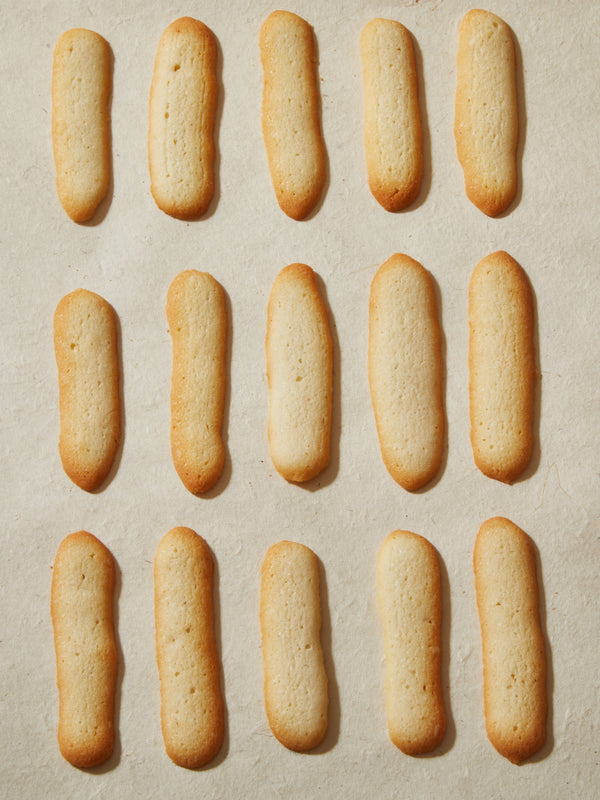
Lengua de Gato, meaning “cat’s tongue” due to its shape, is a light, crispy Filipino butter cookie. They’re typically sold in tightly packed jars with bright yellow lids, often brought back as “pasalubong” (souvenir gifts!) by my family traveling back from the Philippines. It's what I always requested.
It wasn’t until I was older that I realized how easy it was to make these delicious cookies and they have since become a holiday tradition because they remind me of home.
Recipe by: JSC Kitchen, Veronika Hiyama
Process
Preheat your oven to 350°F. Line two baking sheets with parchment paper and set aside.
In a large bowl using an electric hand mixer or using a stand mixer fitted with the paddle attachment, beat softened butter on medium-high speed until soft and creamy, about 3 minutes.
Add sugar and continue beating until light and fluffy, scraping the bowl every now and then to ensure everything is mixing evenly.
Add vanilla extract and egg whites and mix until combined.
Lower the speed and add flour and salt until just combined. Transfer the dough into a Ziploc bag and trim one of the corners about 1/2 inch in diameter. Pip 3-inch long cookies onto your pans, allowing a little space around each cookie.
Bake for 10-12 minutes, until they’re starting to lightly brown along the edges.
Let cool in the pan for about 5 minutes, then slide the parchment onto a cooling rack to allow them to dry out completely before peeling off the parchment paper and enjoying!
Hot tip: If your butter hasn’t fully softened, you’ll notice little butter lumps start to form when you add your vanilla and egg whites. Don’t worry - simply use a blow dryer to blow warm heat along the sides of your mixing bowl to slowly melt the lumps, creating a smooth batter before adding your flour.