


Kosher Salt Explained
If you only have one salt in your kitchen, we recommend kosher salt.
Posted by:
Jacobsen Salt Co.
Posted on:
May 16, 2025
Your Seasoning Go-To
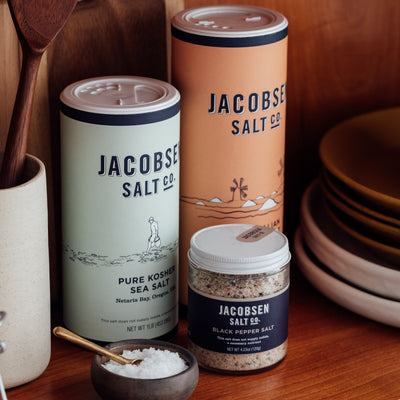
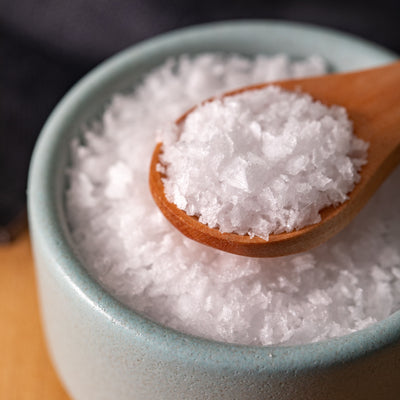
If you only have one salt in your kitchen, we recommend kosher salt. It comprises coarse, flaky crystals that are bigger and less uniform than table salt granules but much smaller than flake salt. Our kosher salt has a delicate, fluffy texture and a clean, briny flavor, making it milder than most fine or table salt.
We lovingly refer to kosher salt as the workhorse in your pantry because it is perfect for everyday cooking, roasting, brining, pickling and seasoning. Since the crystals are larger and lighter than table salt, kosher salt tends to dissolve more evenly, which helps you gauge how much salt your dish needs throughout the cooking process.
In a pinch, kosher salt can easily be crushed in your fingers to produce a finer salt when necessary (such as when baking or seasoning popcorn).
How to Use
Seasoning with kosher salt is a tactile process. Its coarser texture makes it excellent for gauging just how much salt you are using, as it doesn’t escape your fingers like fine or table salt would. This allows you to use your senses to understand how much to season your food with. According to J. Kenji López-Alt in his book, The Food Lab: Better Home Cooking Through Science, similarly to flake salt, sprinkling kosher salt from above can help with the distribution of the crystals for more even seasoning.
Why is it Called Kosher?
Since its larger salt crystals are perfect for adhering to surfaces and drawing out moisture, kosher salt was primarily used to draw blood from meat in the koshering (kashering) process. Over time, koshering salt became known as kosher salt. These days the moniker refers more to the grain size, but a majority of kosher salts (such as ours) are still certified as such by a rabbi.
How to Store Kosher Salt
Keep your JSC Pure Kosher Sea Salt in its canister or a small dish next to the stove for easy seasoning while cooking. When not using, store kosher salt in a cool, dry place. Since we don’t use anticaking agents, some clumping may inevitably occur, so give your canister or dish a gentle shake to break up the crystals.
Kosher Salt + Vegetables
Seasoning vegetables during the cooking process (as opposed to the end) is the best way to build flavor into every bite, whether roasting, blanching, sauteing, or steaming. Start with a generous 3-finger pinch (about ½–¾ tsp) of kosher salt and taste. Keep adjusting as you add new ingredients to your dish, being mindful of foods that already may contain salt, such as soy sauce, miso, canned foods, etc.
All About Timing
Salting vegetables with higher water content, such as zucchini, onion, and cabbage, 30-60 minutes before cooking allows them to release their liquid and won’t leave you with steamed vegetables when you’re looking for crisped and browned. However, this step is going the extra mile. If you don’t have time, you can skip it.
Pickling with Kosher
Some prefer to pickle vegetables with our Pure Fine Sea Salt since the grains are more uniform, but our Pure Kosher Sea Salt also works well. However, we recommend using a scale to weigh out your salt so that you are adding the correct amount for your pickling project. Both salts are free of iodine and anti-caking agents, which can impart a cloudy look and unwanted flavor to your pickles.
Kosher Salt + Meat = Tender × Timing
Seasoning meat with kosher salt in advance of cooking nearly guarantees that your meat will be juicy, tender, and evenly seasoned (assuming you don’t overcook it, of course). However, there are some important things to consider.
Salt initially draws moisture out of the meat, which sounds like a bad thing. No one wants dry, tasteless chicken or beef. But, let it sit a little longer and the salt will draw the juices back into the membrane of the meat, bringing all the salty goodness along for the ride. This process is also known as dry brining.
So how far in advance should you dry brine your meat? Follow these timing tips outlined in The Kitchn’s “A Crash Course in Seasoning” video:
Dry Brine Timing Chart |
| 1–5 minutes: OK |
| 10–30 minutes: Not Recommended |
| 40 minutes–10 hours: Good Flavor |
| 10 hours–overnight: Excellent |